The blow guide will help you navigate and set up your website settings. Everything you need to manage your websites. Add, manage, and delete your websites.
My FTP & Web Access
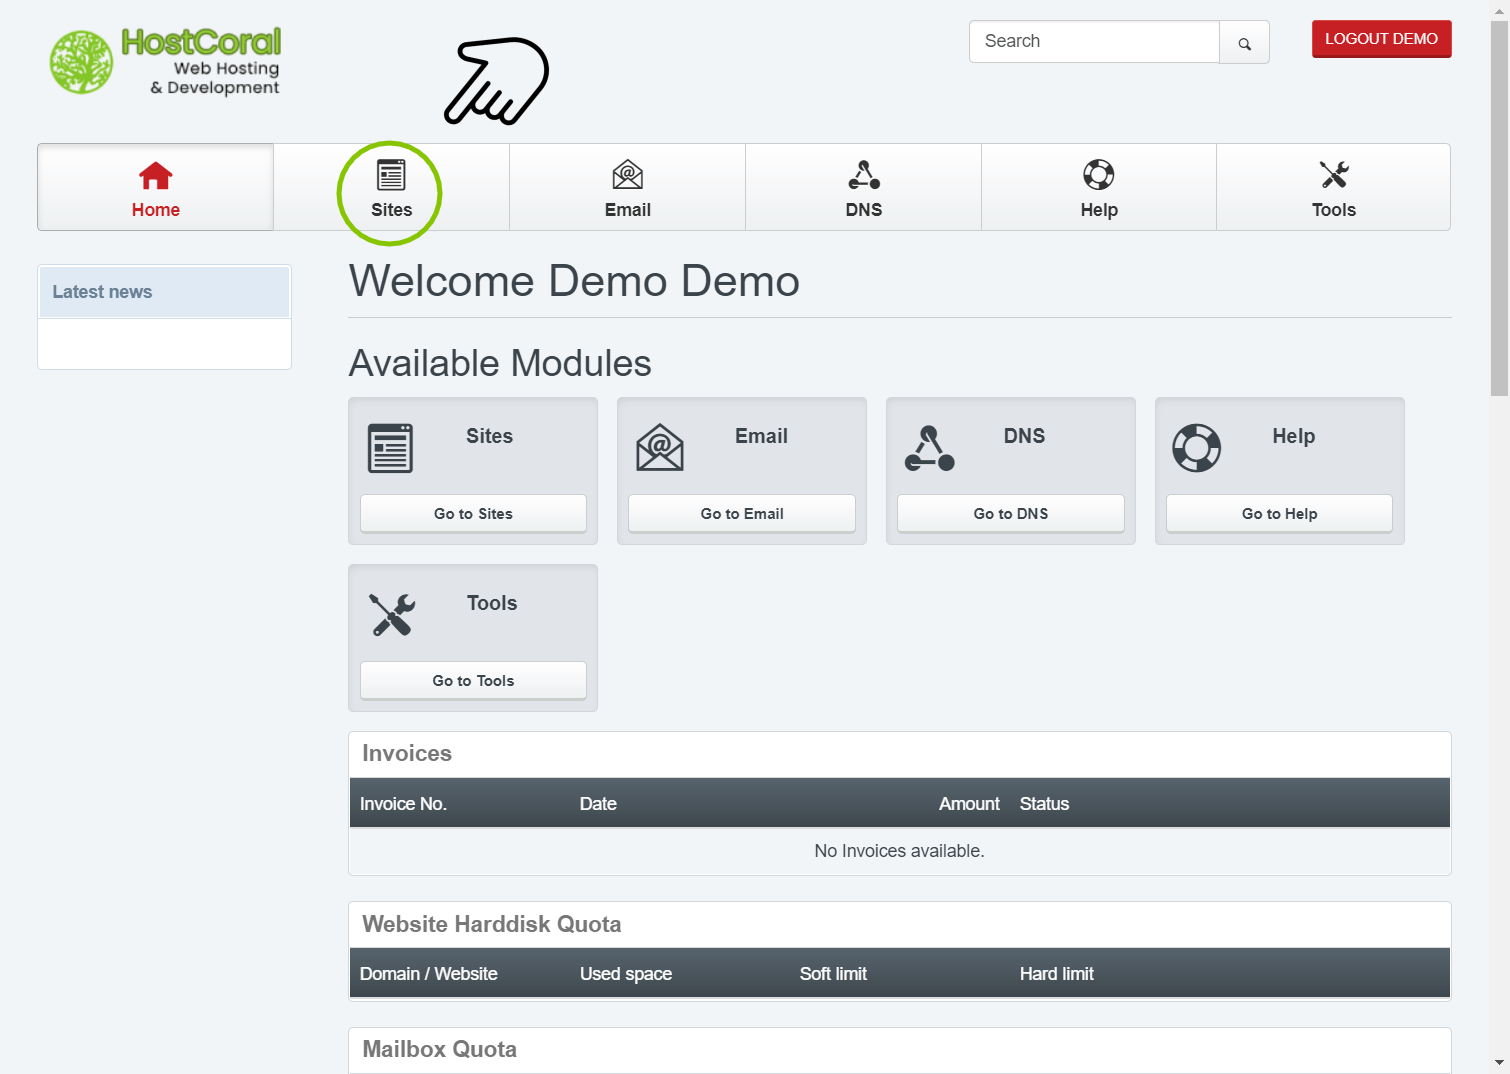
- Dashboard – To get started, login here to your control panel. After logging in, click on the “Sites” tab/button at the top of your dashboard.

- Dashboard – To get started, login here to your control panel. After logging in, click on the “Sites” tab/button at the top of your dashboard.
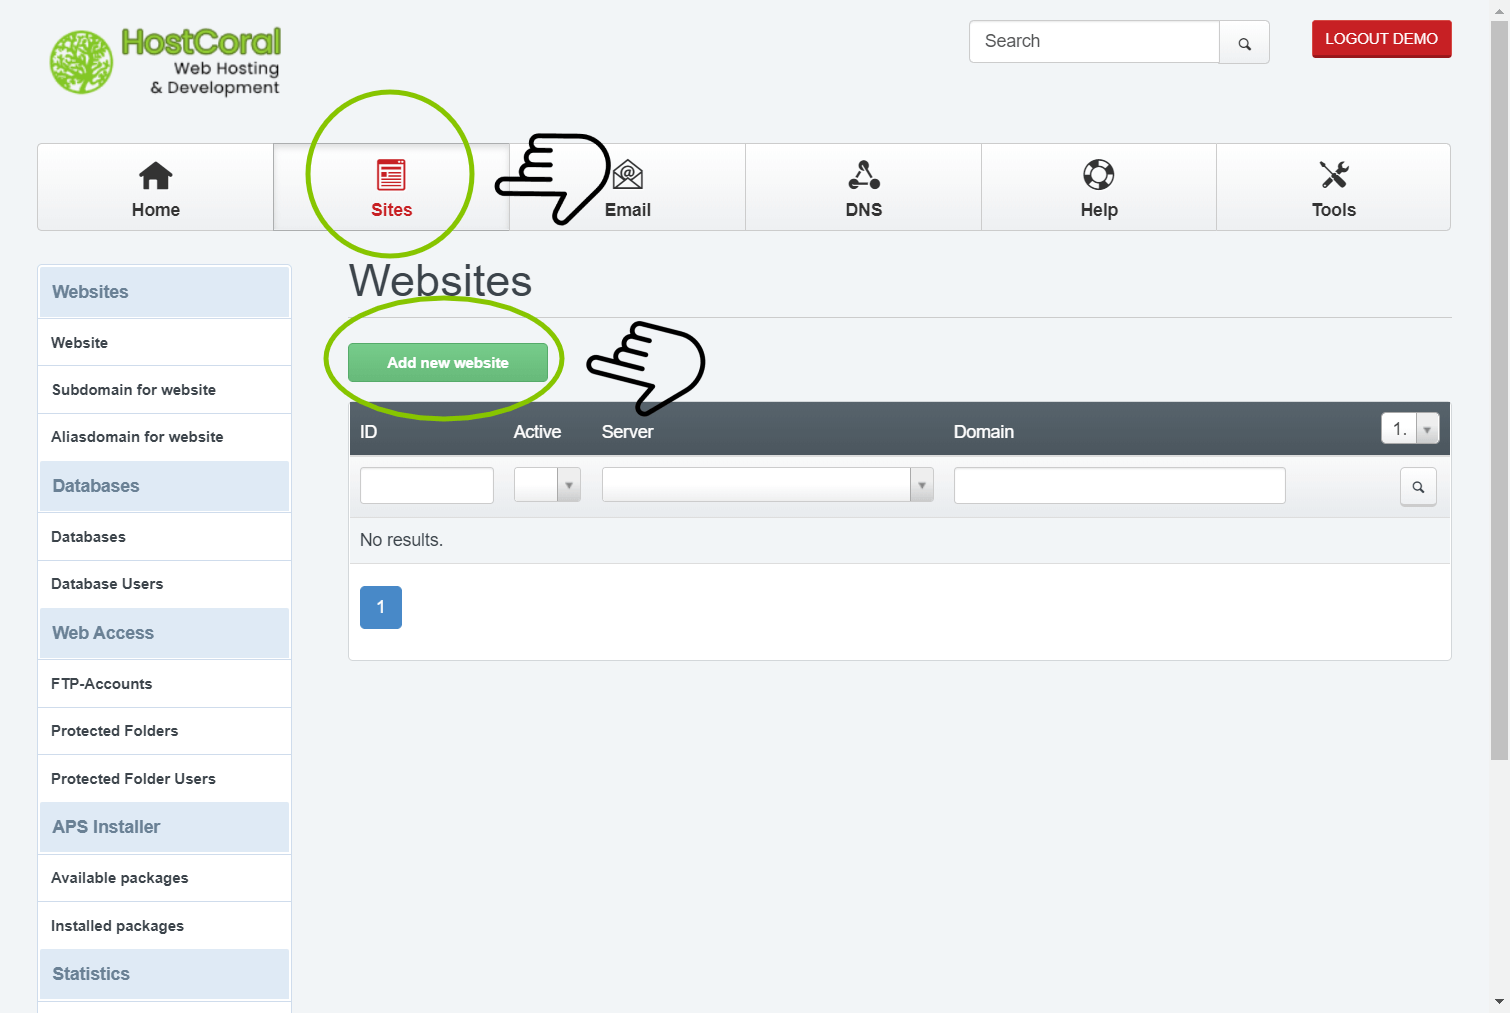
2. Sites – Click on the “add new website” button to get started setting up your new website.
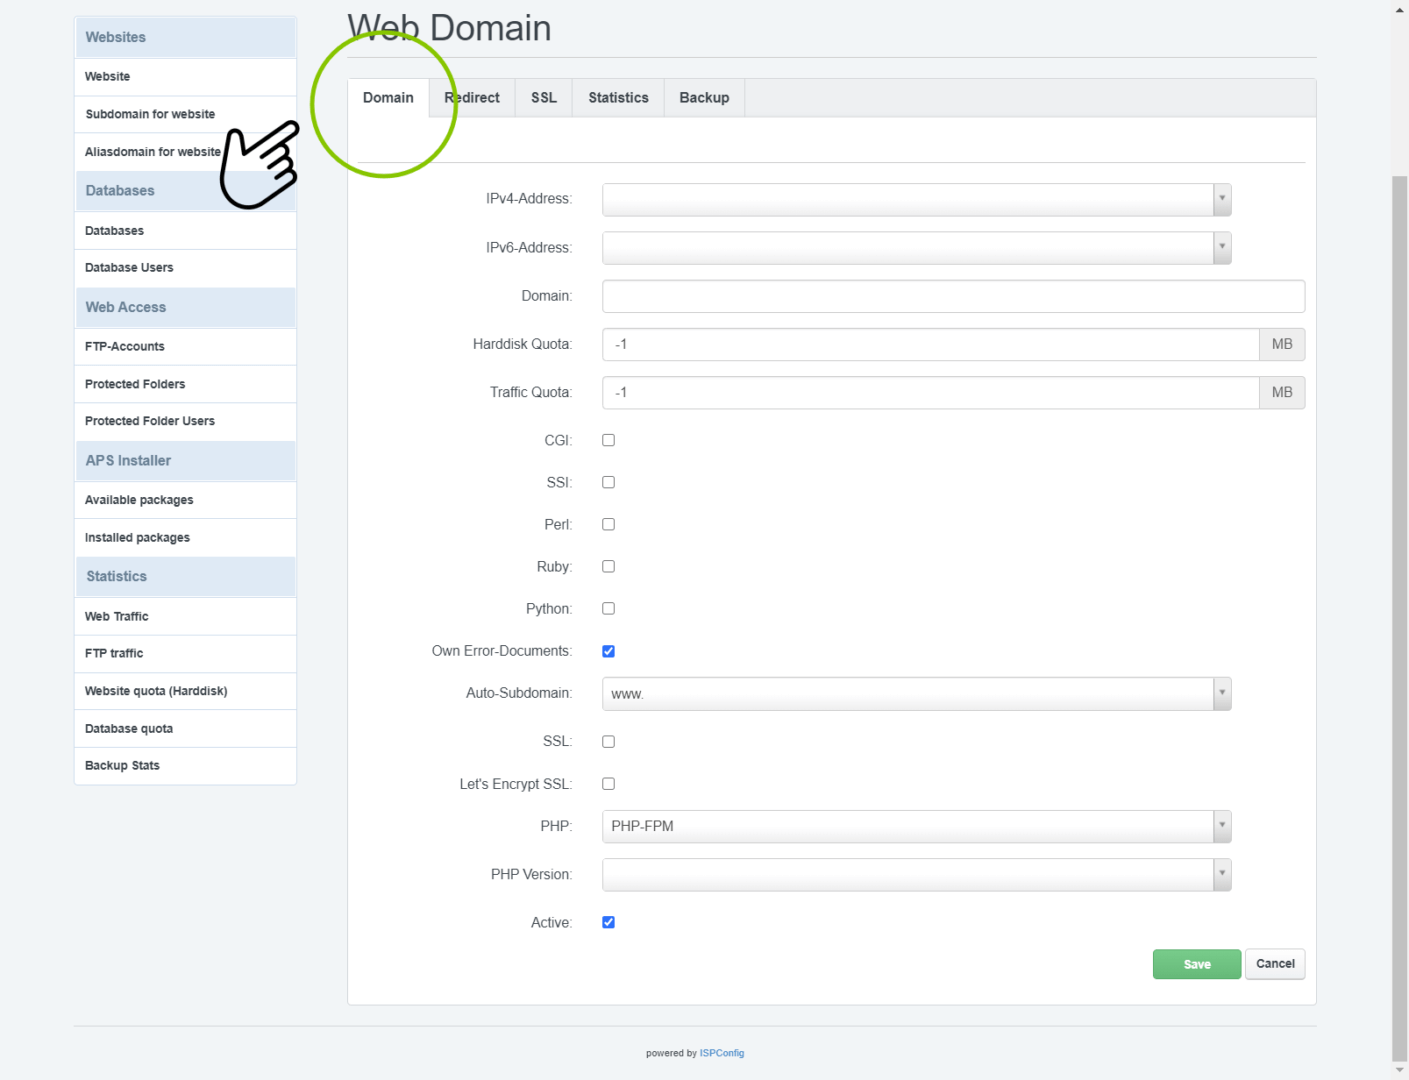
3. Domain
- IPv4-Address – This is default “*” and should remain as is
- IPv6-Address – This field should be left empty
- Domain – Fill in the address of the website you are trying to add, example; “mywebsite.com”. make sure to exclude all white spacing
- Harddisk Quota – This field should be left as is
- Traffic Quota – This field should be left as is
- Own Error-Documents : Uncheck if your website has its own error page. If checked , your website will display NGINX’s default 404 page
- Auto-Subdomain : This field is set to “www” and is recommended to leave as is
- SSL : If this field is available (dependent on your package) , check to enable SSL certificate
- PHP : The default option should be PHP-FPM
- PHP Version : Select default or choose the latest version from the list
- Active : Make sure this option is checked. If unchecked your website will not be available
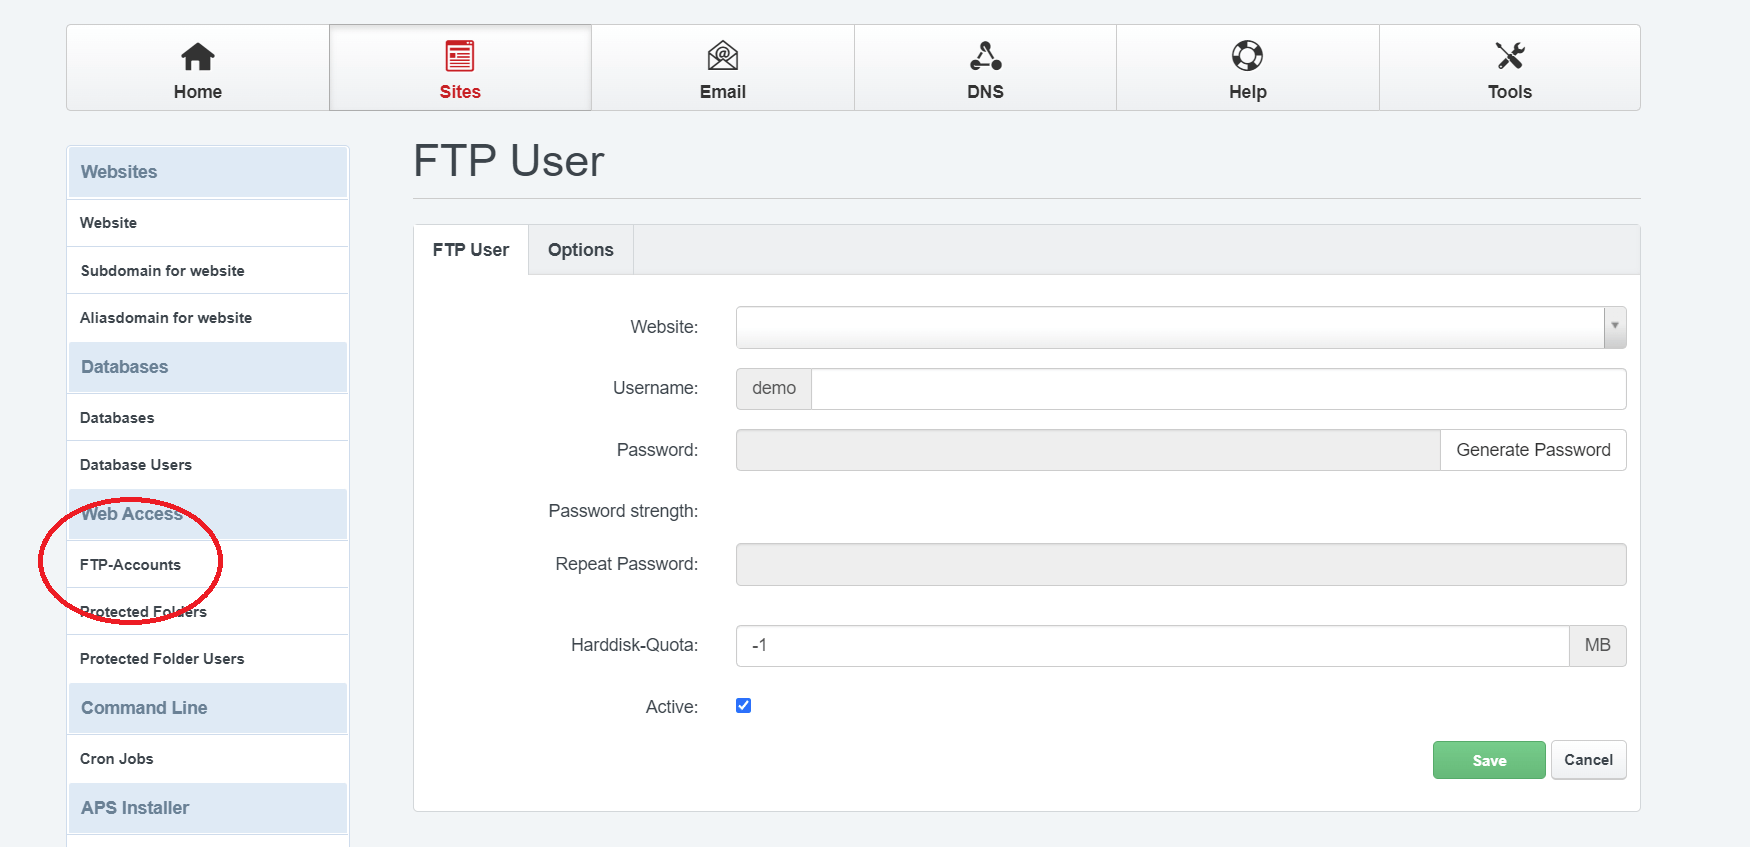
4a. FTP
- While the sites tab is open, navigate to the web access section of the side bar and click on the “FTP” account navigation tab.
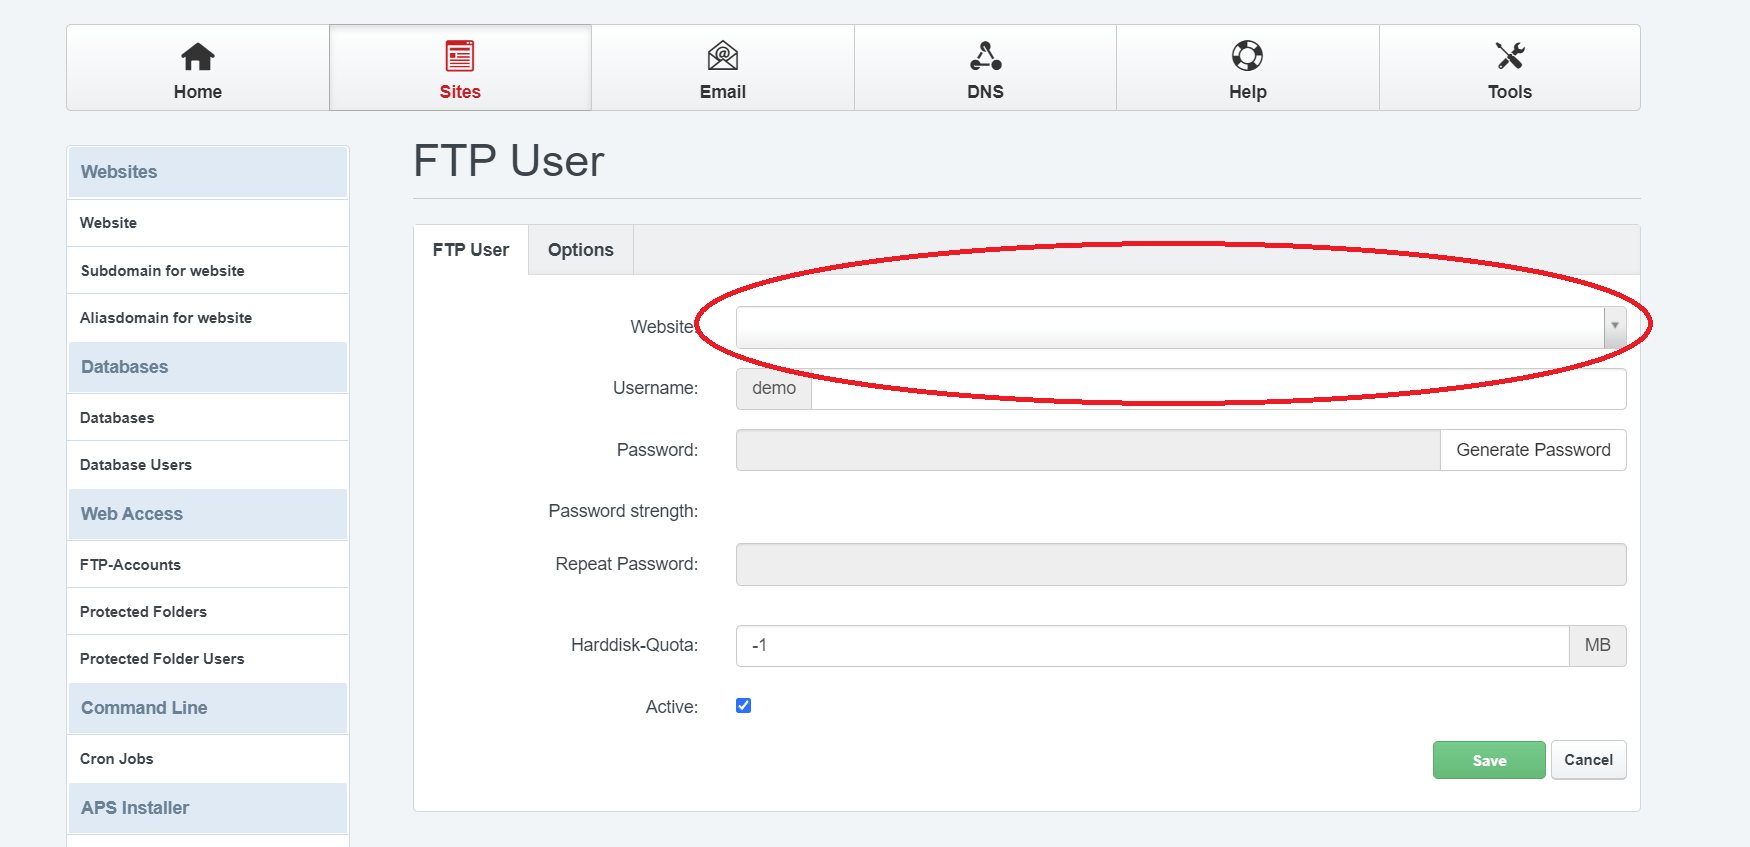
4b. FTP
- Select the website you wish to create the FTP account for.
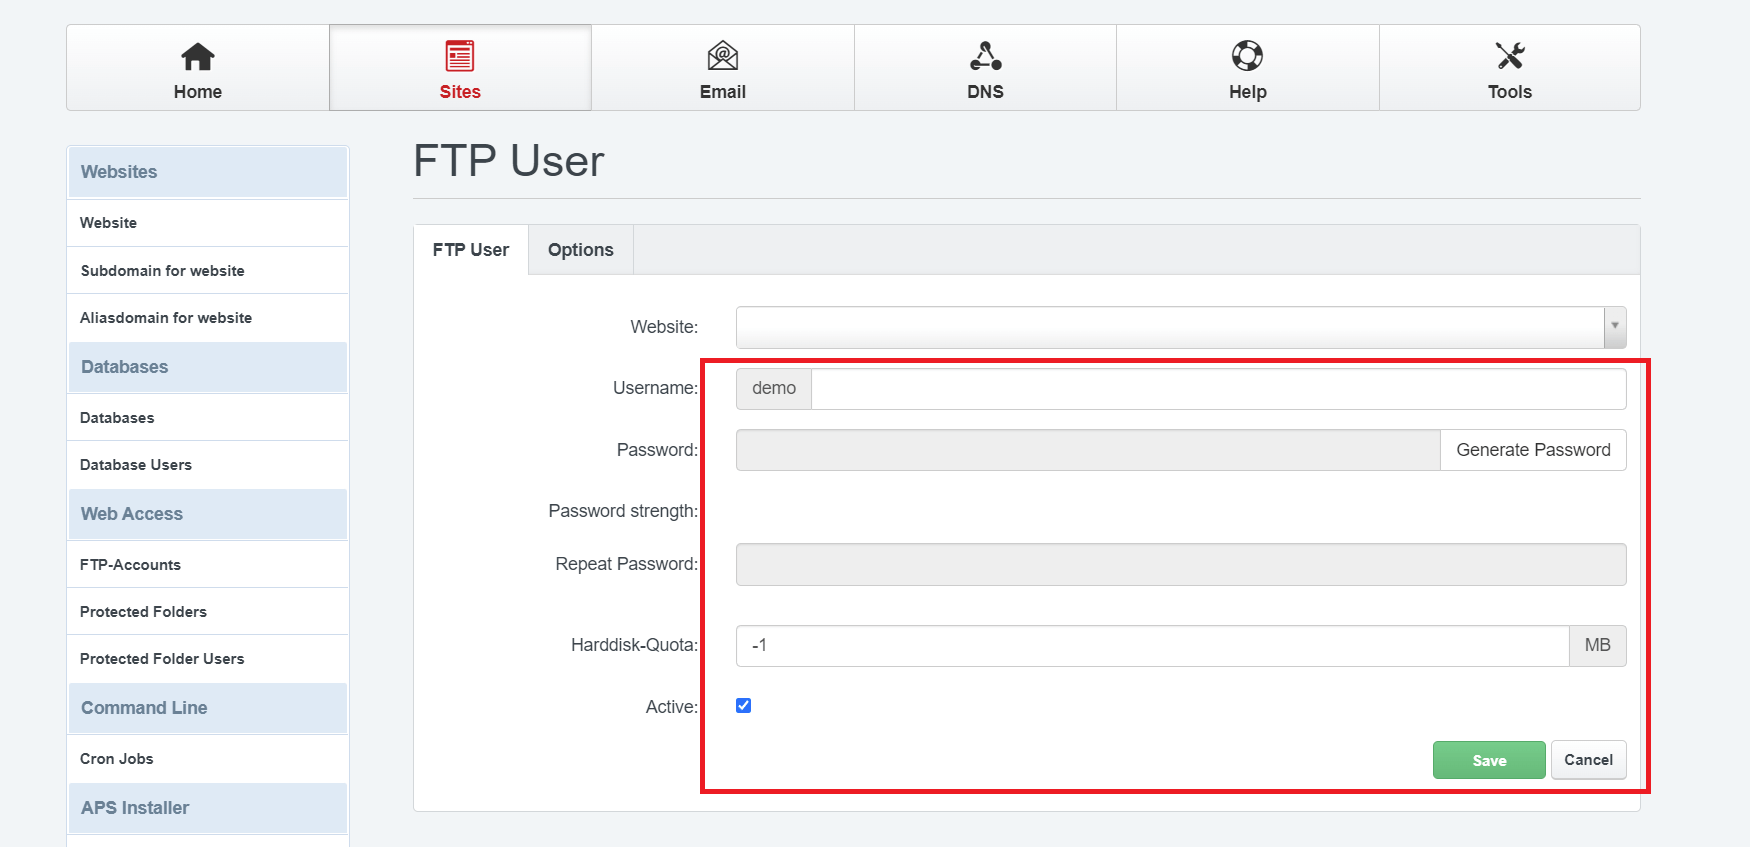
4c. FTP
- Type the name of your ftp account. The username will be appended with your username, for example;”letter_lastname”. If you type the name “_websitename” your newly created account’s full name will be “letter_lastname_websitename” .
- Create or generate a password. Only strong passwords are allowed.
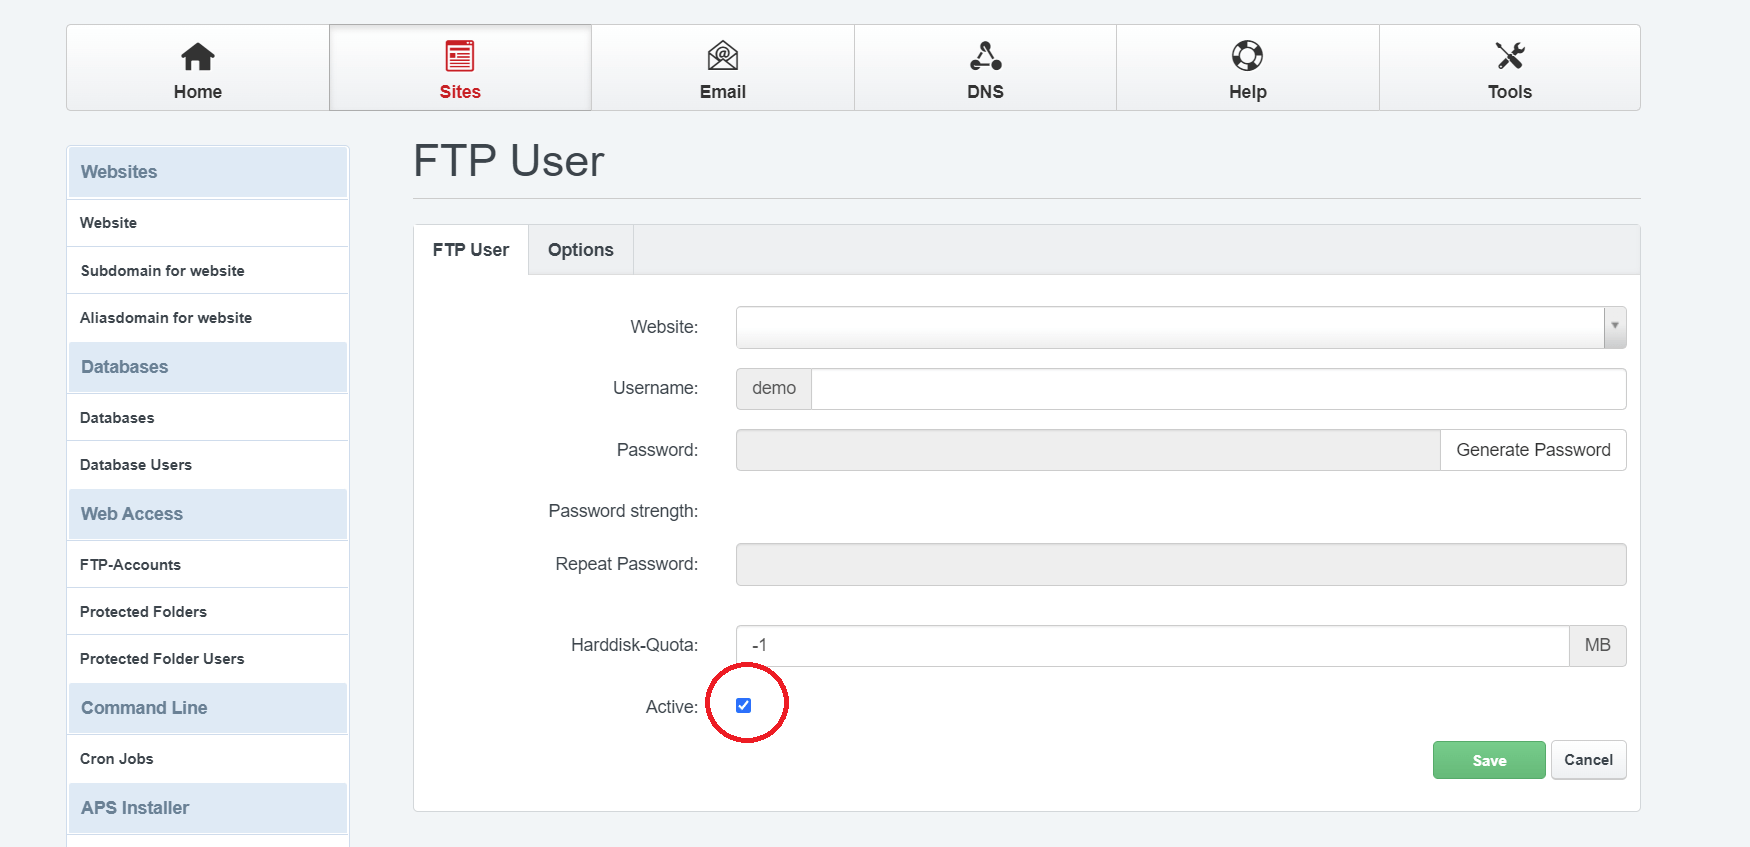
4d. FTP
- Make sure that the “active” checkbox is checked to enable the account.
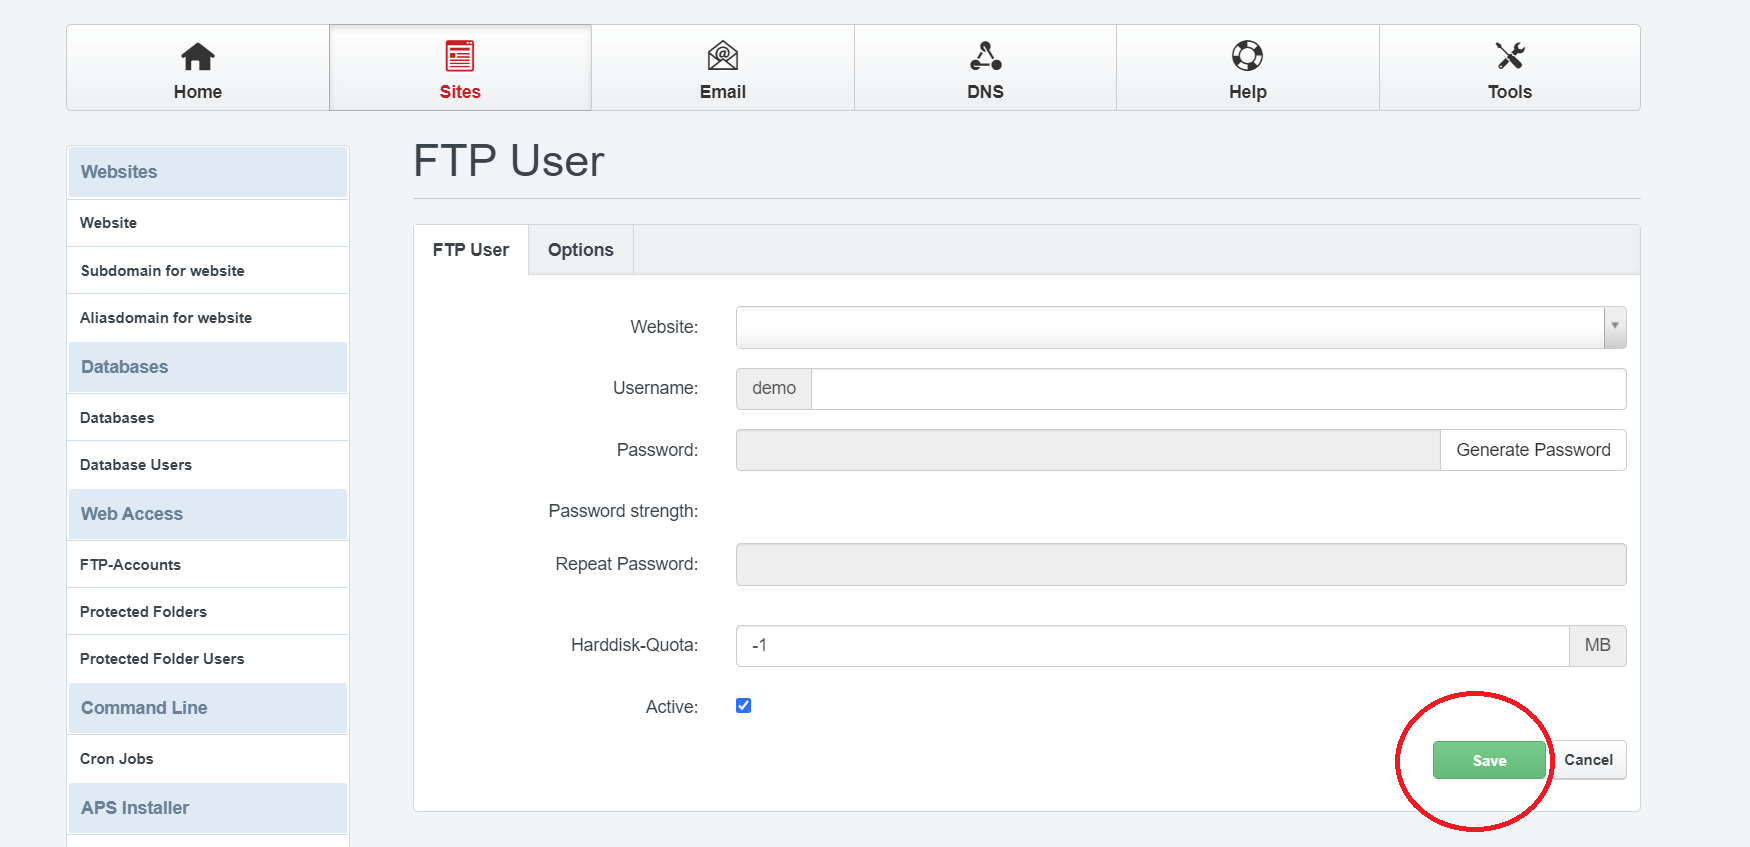
4e. FTP
- Make sure to click on the save button to enable your newly created account.
- You can use your account with any FTP client of your choice.
| FTP Settings | |
| Sever/url | website domain URL. For example https://websitename.com |
| Port Number & Method | 21 FTP or 22 SFTP |
| Username | the username you created in step 4c. For example; letter_lastname_websitename |
| Password | the password you created in step 4c |